
How to Assemble Envelope Liners
Did you order my DIY envelope liners, or just want some insight on how to assemble liners best? Then you’ve come to the right place!
Assembling liners is fairly simple. As with most things, there is more than one way to do it, and honestly, you really can’t go wrong with any method. However, below is my personal preferred way to assemble liners!
Materials
First things first, make sure you have everything you need –
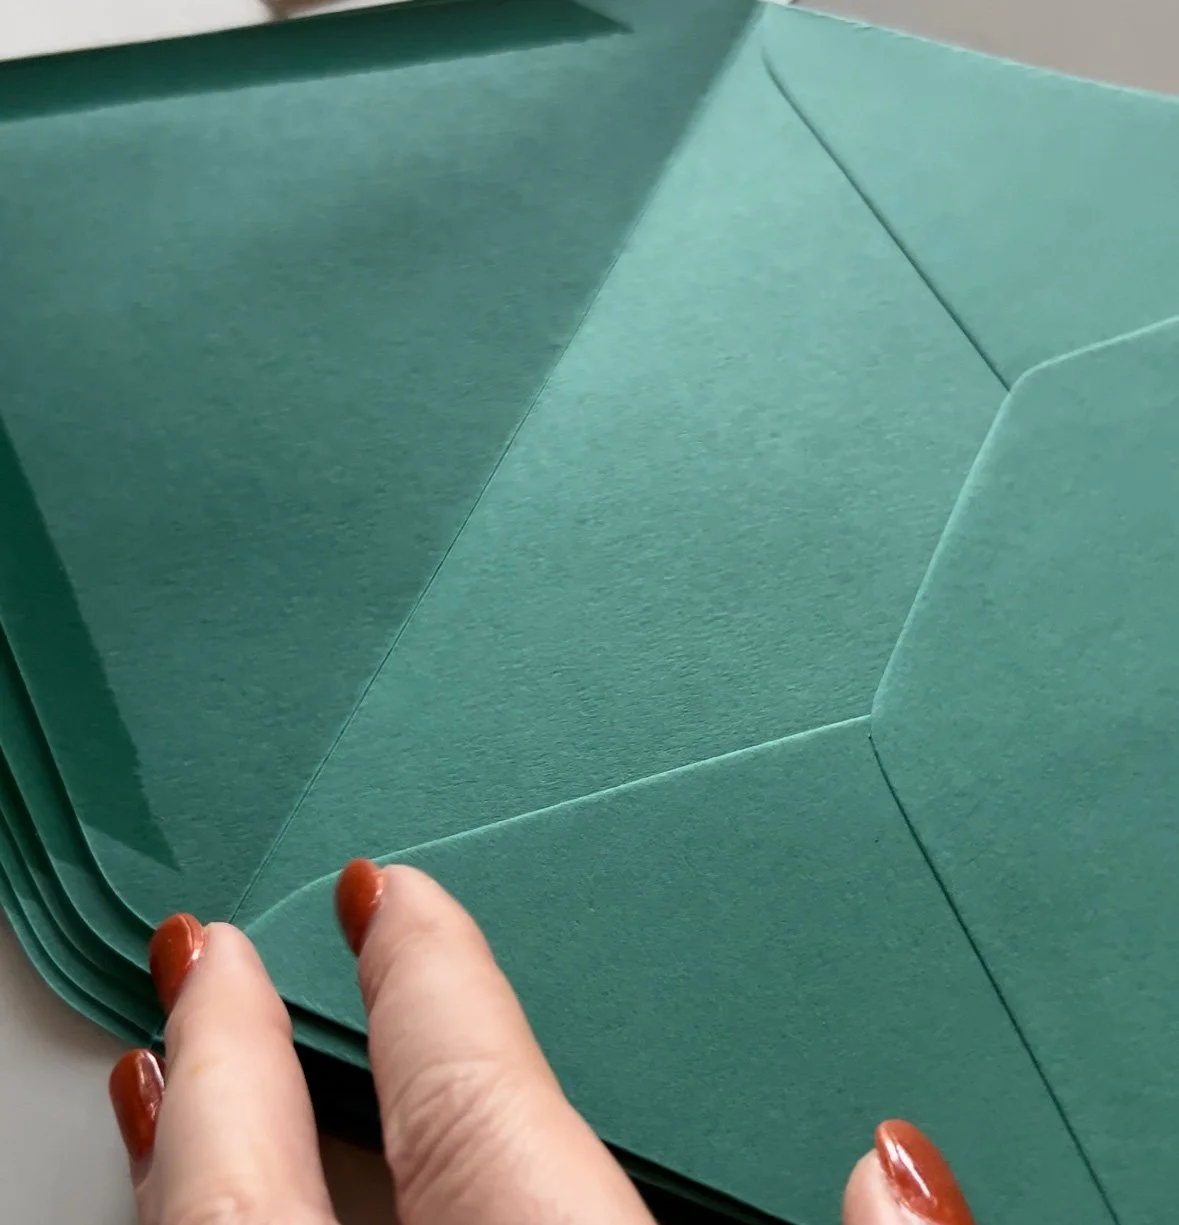
Step 1: Open all your envelope flaps
Go through all your envelopes and open their flaps, so that they are ready for the liners to be inserted!
Step 2: Test out your tape
Before using the double-sided tape on your good liners, perform a few test pulls on scrap paper to ensure it is dispensing correctly and to familiarize yourself with its mechanism.
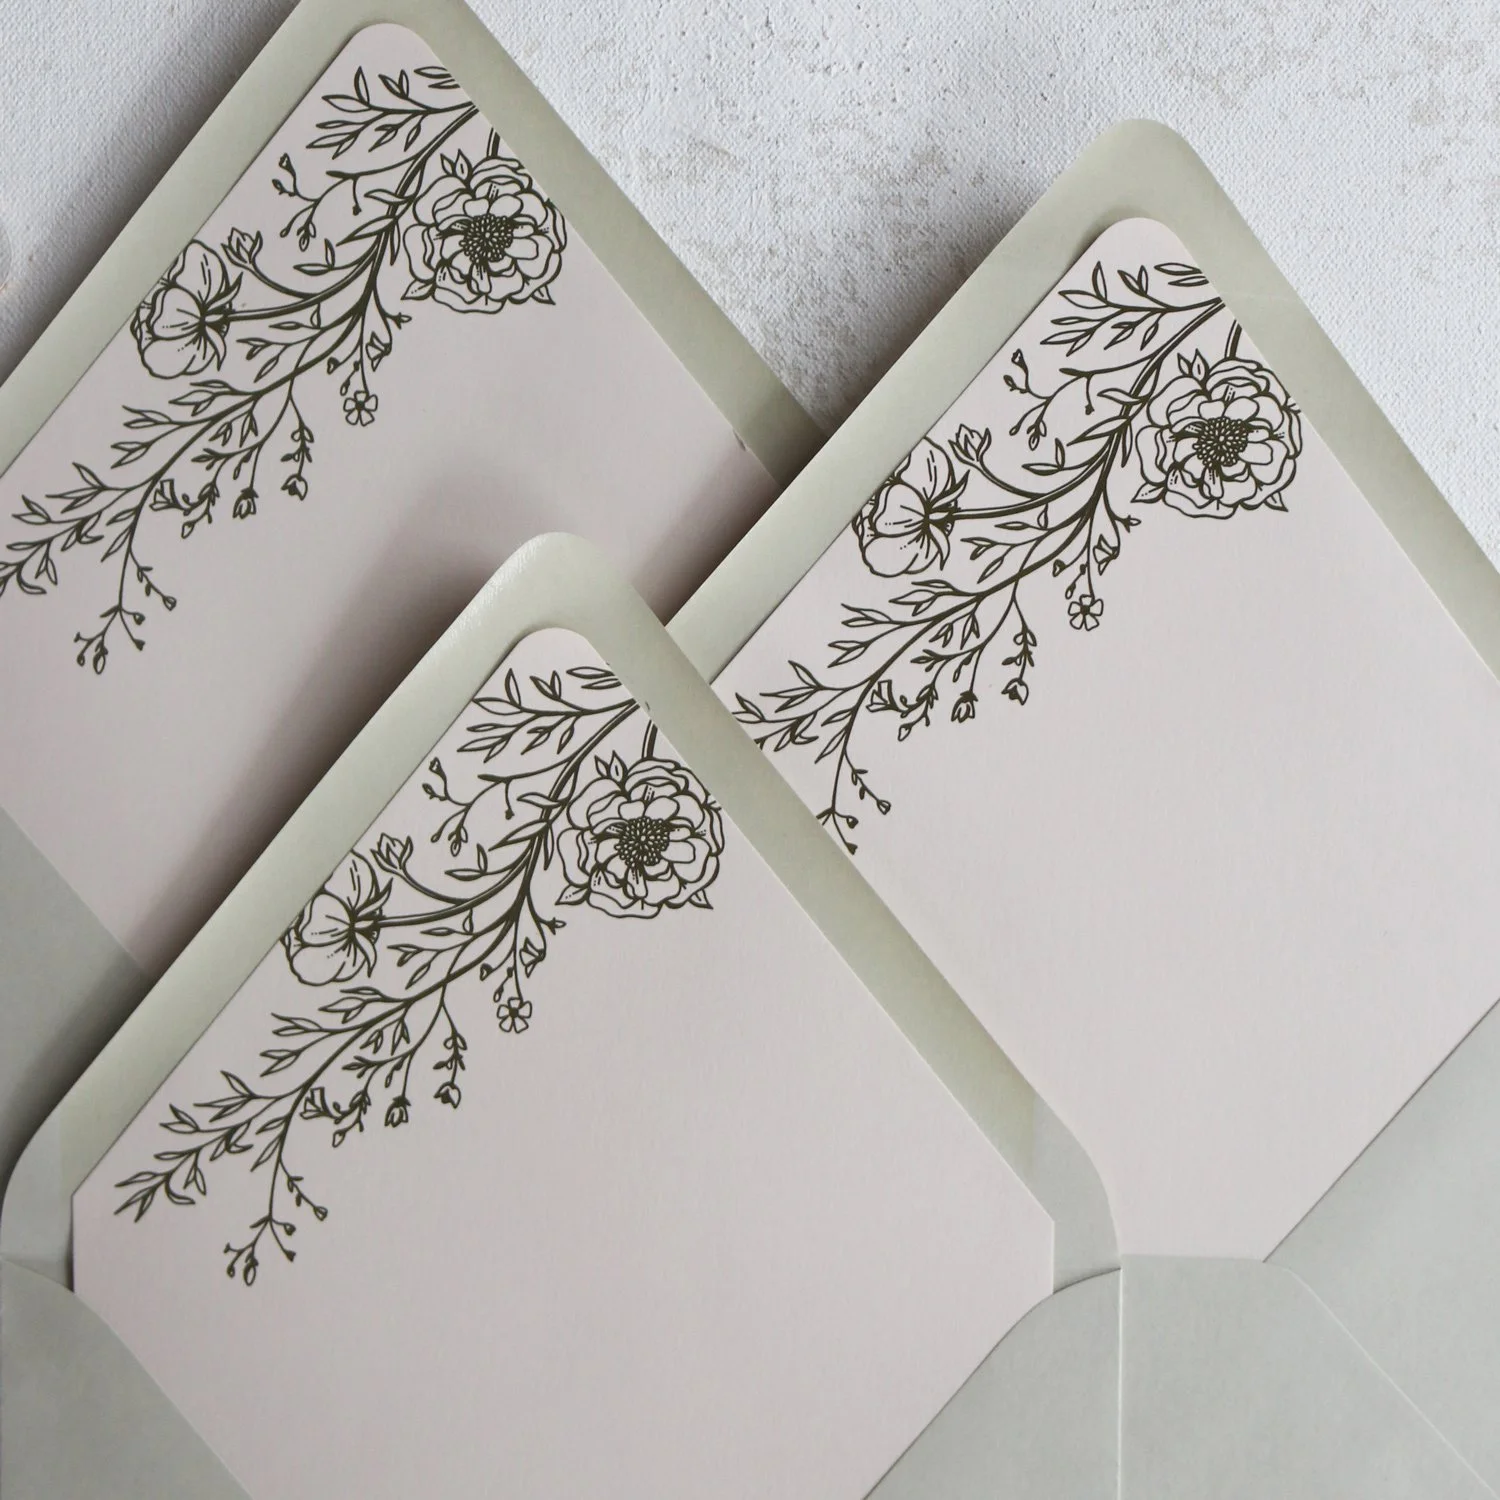
Step 3: Grap a liner
Grab one envelope liner and lay it right side down. (it’s best to start out one envelope/liner at a time, then you can do more as you get more experienced)

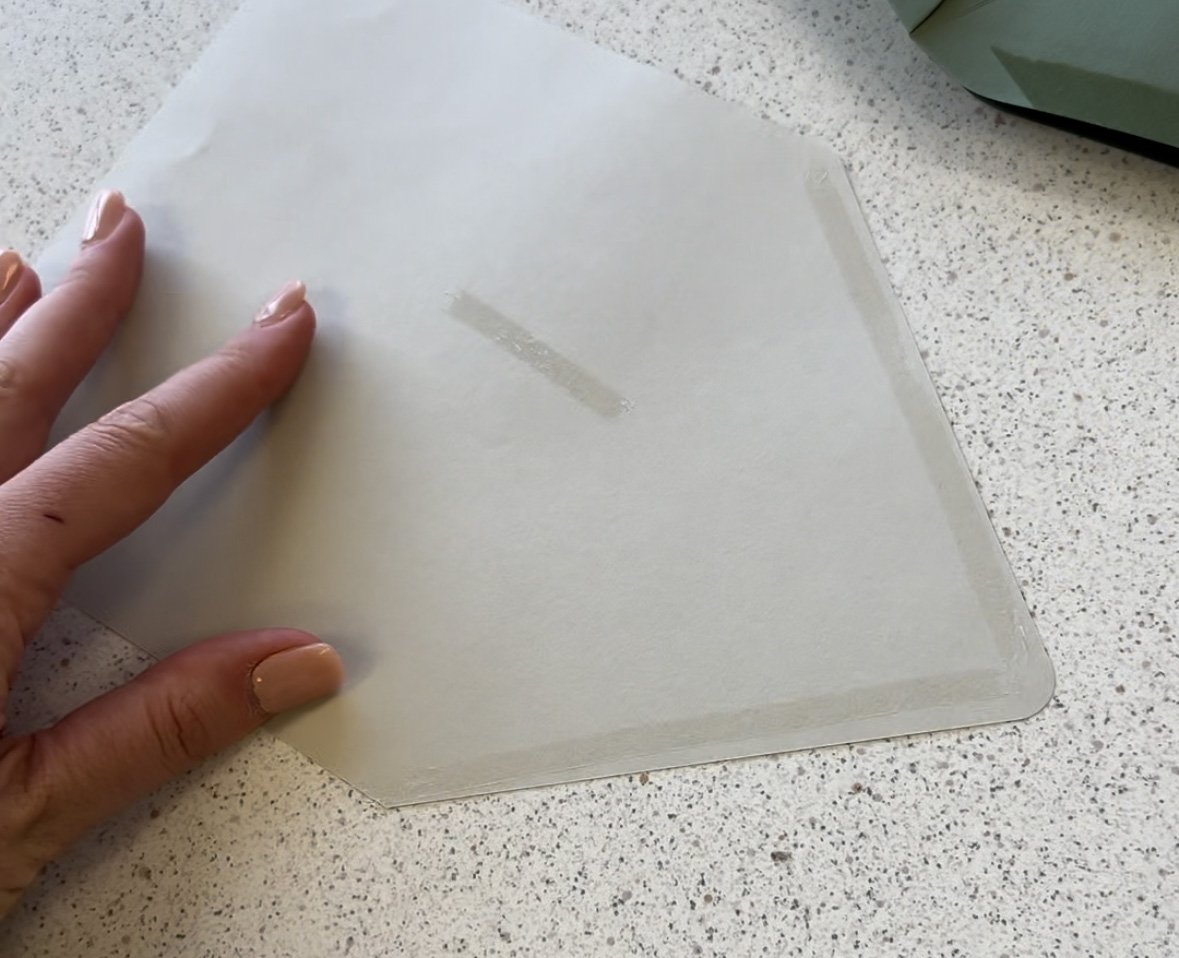
Step 4: Tape the Edges
Run your double-sided tape along the liner as shown in the photograph below. You want to cover the top, triangular part of the liner, then add a line down the middle for extra adhesion
Step 5: Insert Liner
Now take the envelope liner, and insert it into the envelope. You’ll want to try to prevent the liner from touching the envelope until you have it in place.
Insert the liner until you hit the very bottom of the envelope
From there, center it left to right as best as you can
Once in place, press down, adhering the liner to the envelope

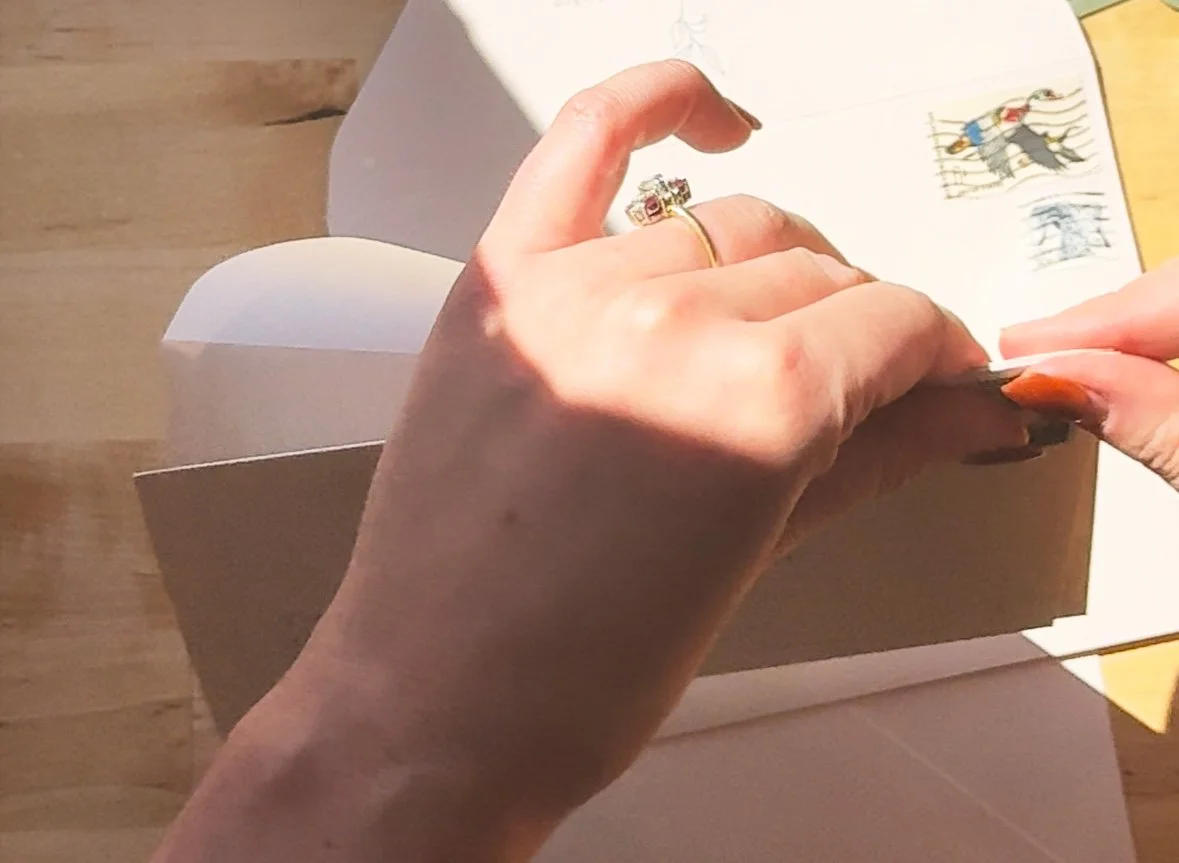
Step 6: Fold the Envelope
Grab the right or left corner of the envelope at the center fold, between the front and back flap. Pinch that crease, and slide your finger down the entire envelope, folding the envelope at the crease with the liner inside.
That’s it!
If you want to see how I do this in action, you can check out this video. Also, below are a few extra tips for you!
Batch work! Once you get familiar with the process, feel free to do more than one envelope at a time
Not loving this method? Here is another strategy if you want to try something different.
Oily hands? Rub them with some baby powder to prevent any smudges from getting on your envelopes or liners.
A lot of stationers also use double-sided tape to close the envelopes. If you have leftover tape, consider this as an option! I prefer using envelope moistener myself, but really, anything with a little extra adhesive works.
Happy Mailing!
– Sally
Want to learn everything there is to know to start using vintage stamps?
Check out my Vintage Stamp Crash Course and become a vintage stamp pro in no time.